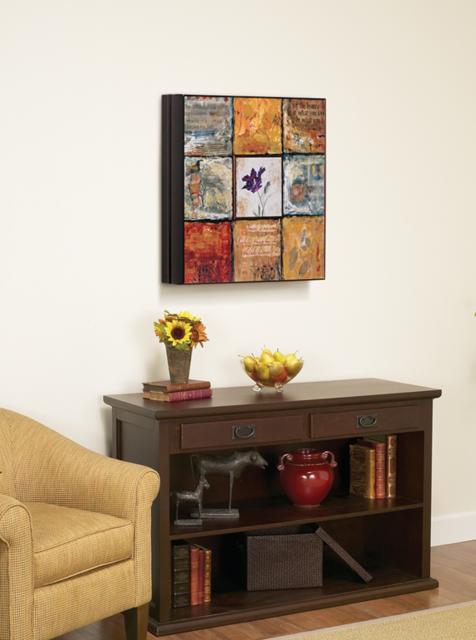
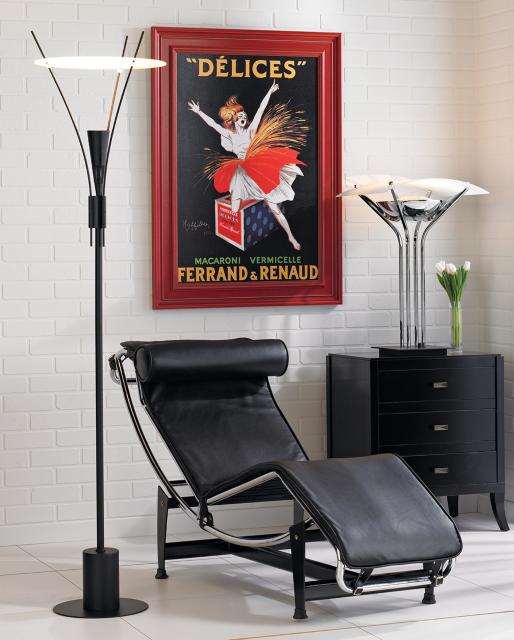
How to position wall art
Starting a home art collection is an inspirational way to personalize the home. By following these simple tips, the art lovers can be certain their collection will stand the test of time. Lamps Plus designers have provided some tips on “how to hang pictures” in the home.
Personal appeal
When looking to purchase wall art, it’s best to look for art that has a personal appeal. “Art is a long-term relationship, not just an object,” explains Lesley Myrick, designer and blogger at Lamps Plus. “Ask yourself, ‘Will I love this piece after the initial thrill of buying has worn off?’ If the answer is yes, then you’ve found a piece worth collecting. It doesn’t matter if your budget is $10 or $10 million.”
The place
Next, consider where the work will be kept in the home. A photographic print or a sketch on paper will tend to curl with prolonged exposure to humid environments such as the bathroom or kitchen for long. Ceramic or acrylic sculptures on the other hand will hold up just fine. For the outdoors, consider metal sculptures with protective patinas such as bronze or stainless steel. Less extreme environments such as the bedroom, living room and den are more amenable to just about any type of artwork, from paintings and framed photographs to unframed drawings and posters.
Hanging art
Museums hang art at a universally standard height of 57 inches on center, meaning that the center of a given piece is exactly 57 inches from the floor. This isn’t so easy to do at home. With furniture, built-ins and windows sharing the walls with artwork, conforming to the museum standard is not always an option, so Myrick offers an alternative for hanging wall art, “Use your eye, not the tape measure.”
To place work on the wall, Myrick recommends a simple three-step process: (1) place art on a table or floor to perfect the layout, (2) trace it on paper to mark the hanging points, and (3) tape the paper to the wall and hammering nails directly into the traced points. Once the nails have been hammered in, simply pull the paper away and hang the art.
Lighting Art
First time visitors to the Louvre in Paris will often remark about how dark da Vinci’s “Mona Lisa” appears to be. The explanation for this is simple: over time excess light will fade the colors of a painting. Preserving artwork, whether it’s the “Mona Lisa” or a favorite rock ‘n ‘roll poster, requires one to be sensitive to the light around it.
“A balanced spectrum of light is best for viewing a piece of art,” explains Marcia Prentice, designer and blogger at Lamps Plus. “Incandescent lights can be too ‘warm’, revealing a disproportionate amount of yellow and orange tones in an artwork, while fluorescent lights contain harmful UV rays which can fade artwork over time. For art lighting, I recommend using low-watt halogen lights for the rich, full spectrum of color they provide.”
There’s one lighting option that specialist recommend against at all cost: “Absolutely keep artwork out of direct sunlight. Textiles can fade after only a few months of sun exposure, and photographic prints don’t last much longer.” While UV-protective glass can minimize the effect of sunlight upon art, prolonged exposure to sunlight and the heat that accompanies it is never recommended.


